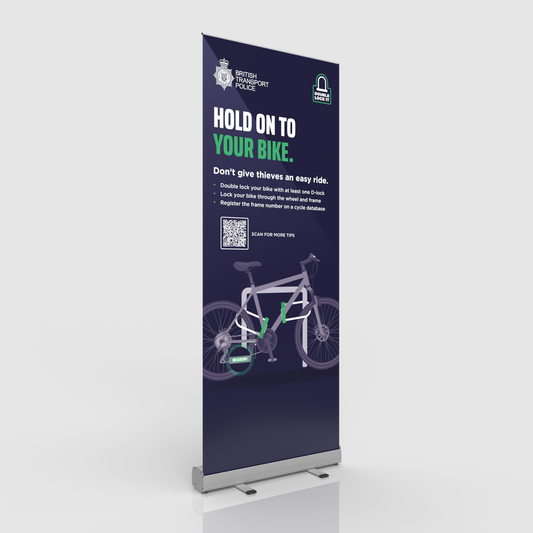
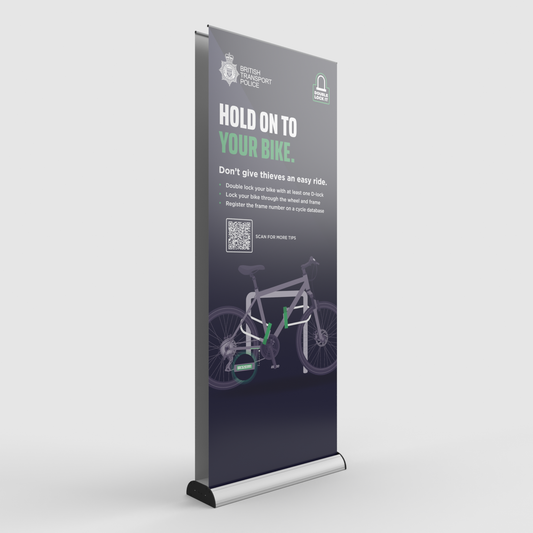
Step-by-step guide to putting up a Pop-up Stand
-
Unpack the Components
- Open the carrying case and remove all parts: the frame, magnetic bars, and printed panels. Lay them out on a clean surface for easy access.
-
Set Up the Frame
- Expand the frame by pulling it apart gently until it locks into position. It should form a curved or straight structure depending on the design. Ensure the frame is stable before proceeding.
-
Attach Magnetic Bars
- Locate the magnetic bars in the kit.
- Attach the magnetic bars vertically to the frame's nodes (usually pre-marked spots). These bars provide structure and support for the graphic panels.
-
Prepare the Panels
- Take the graphic panels and arrange them in the correct order.
-
Attach the Panels
- Starting from one side, attach the panels to the magnetic bars or frame using Velcro or magnetic strips.
- Ensure each panel aligns correctly with the frame edges and adjacent panels for a seamless look.
- Smooth out any wrinkles or misalignments as you go.
-
Check Stability and Alignment
- Once all the panels are attached, step back and check the alignment. Adjust as necessary to ensure the panels fit snugly together.
-
Final Check
- Inspect the entire stand for proper setup. Look for wrinkles, gaps, or uneven areas and fix them.
-
Add the Lighting
- Attach the spotlights to the designated spots and plug them into a power source.


